Walkthrough
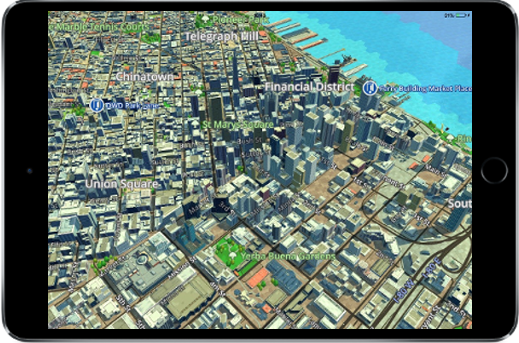
The WRLD iOS SDK is a framework for displaying beautiful, interactive 3D map views in Cocoa Touch apps for iPhone or iPad.
This step-by-step guide shows you how to use Xcode Interface Builder to integrate a WRLD map view into your iOS app.
Getting Started
To integrate a WRLD map view following this guide you will need:
- Xcode 7.3 or later.
- CocoaPods (Optional).
- A WRLD API key.
Your app Xcode project
If you are integrating a WRLD map view into an existing Objective-C iOS Xcode app project, skip to the next section.
If instead you are creating an iOS app from scratch, create a new project now in Xcode:
- From the menu bar, select
File -> New -> Project.... - Select the Single View Application template under the iOS tab, then ‘Next’.
- On ‘Choose options for your new project’, enter a Product Name, for example
ExampleApplication - Make sure Language is set to
Objective-C. - Click ‘Next’, choose a folder location for your new project, then ‘Create’.
Install the WRLD iOS SDK
via CocoaPods
Create a Podfile in the root folder of you app project (if necessary, replacing ‘ExampleApplication’ with the target name of your app)
platform :ios, "8.0"

target 'ExampleApplication' do
  pod 'WRLD'
end
In Terminal, run pod update && pod install. This will download the SDK and create an xcworkspace file.
Open the xcworkspace file in Xcode.
via Direct Downloads
- From the latest github release page, download the
wrld-ios-sdkzip file. - In Xcode, select your app’s project in Project Navigator to display Project Editor. Select the app’s target, then on the
Generaltab, find theEmbedded Binariessection. - Unzip the
wrld-ios-sdkzip file and dragWRLD.frameworkinto theEmbedded Binariessection. Check “Copy items if needed” in the resulting dialog box, then click “Finish”. This links the WRLD.framework with your project.
Set your WRLD API key
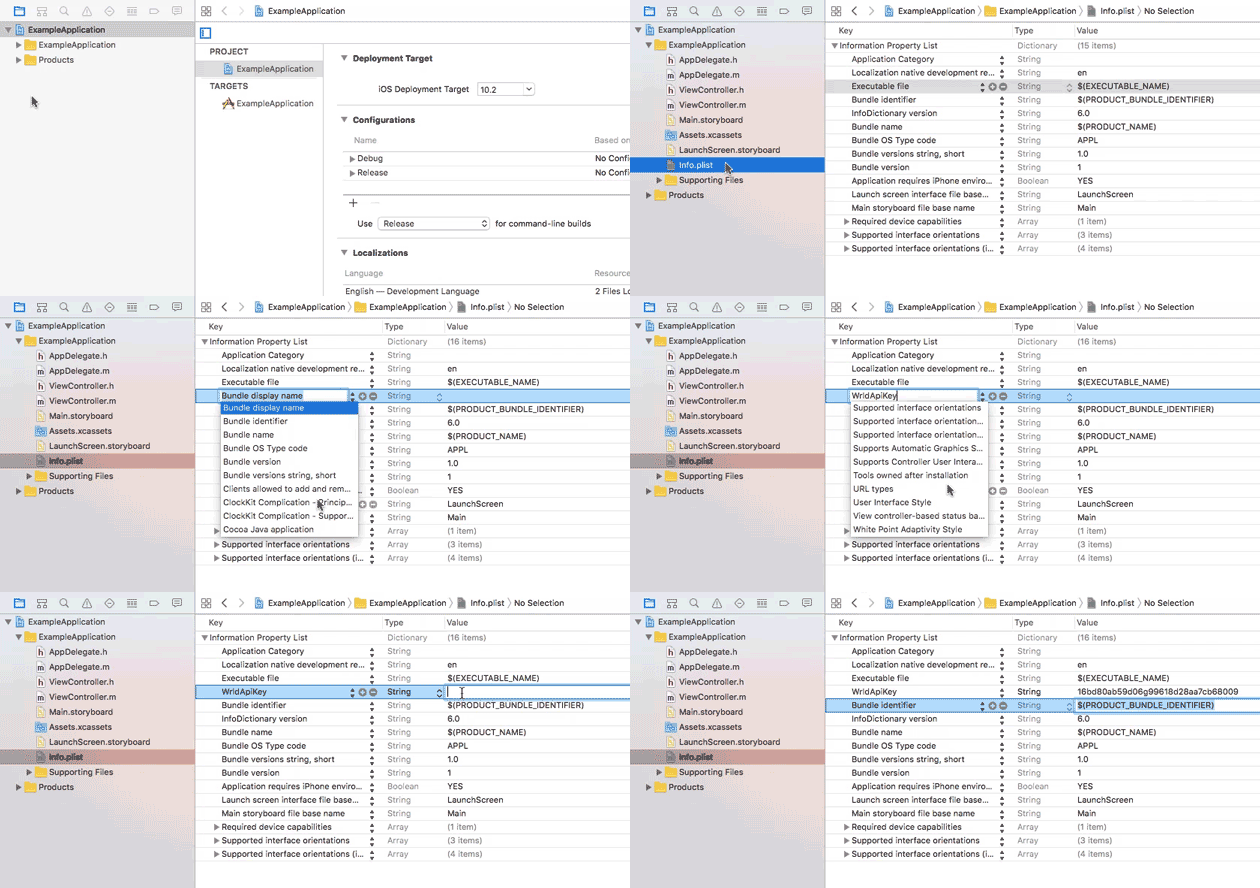
In Xcode, select your app’s Info.plist file in the Project Navigator.
Add an entry with the columns set as follows:
- Key:
WrldApiKey - Type:
String - Value: [your api key]

Add a map view with Storyboards
- Select your app’s Main.storyboard in Project Navigator.
- Expand storyboard View Controller Scene to where you want to add the map view.
- From the Object Library, filter by
UIViewand drag a newViewobject into your storyboard. - Alternatively, to change an existing UIView to display a WRLD map, just select the view in your storyboard.
- In the Utilities sidebar, select Identity Inspector.
- Change the Class of the view to
WRLDMapView.

Set the start location of your map
- With the
WRLDMapViewstill selected, open the Attributes Inspector. - In the Map View section, set the following:
Start Latitude: 37.789069
Start Longitude: -122.401141
Start Zoom Level: 15
Start Direction: 0
This will configure the map view to start in San Francisco, with the top of the view aligned to North.
Change ‘Enable Bitcode’ settings
Currently the WRLD iOS SDK does not support Bitcode. Depending on the version of Xcode you are using, you may have to disable this in your project settings:
- Select Build Settings in Project Editor.
- Under Build Options ensure that Enable Bitcode is set to
No.

Build and run your app
You’re now ready to try out your app.
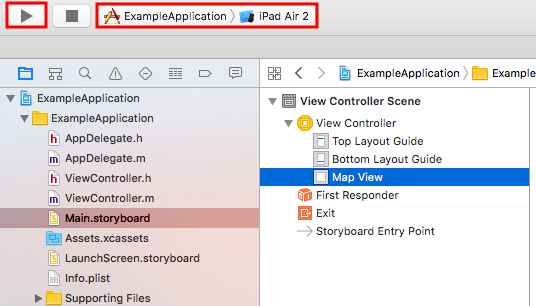
- Select a target device
-
In the toolbar, click the ‘Build and the run the current scheme’ button.

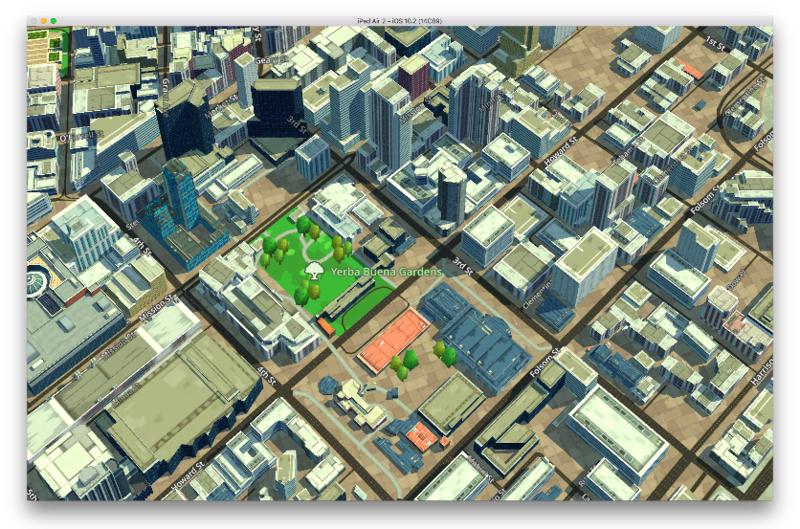
The app will now install and run on your device. If you selected a Simulator iOS target device, Simulator will launch and then run your app.

Next Steps
Download and take a look at our example project to learn how to use our SDK features.
You can read the example code snippets here.